If your infrared sauna isn't heating, a methodical 5-step diagnostic can often fix the issue. Check power supplies, reset breakers, inspect control panel settings, and test heater panel resistance. Proper ventilation and door seals are also critical for reaching target temperatures. Knowing when to repair or call a professional ensures a safe, effective home wellness experience.
Why Infrared Sauna Heater Won’t Work: 5-Step Diagnostic Guide
If your infrared sauna heater stops working, the issue can be electrical, mechanical, or airflow-related, not a total system failure. This guide walks you through a practical 5-step diagnostic process to help you identify why your outdoor infrared sauna isn’t heating properly. In about 30–45 minutes, you can check power supply, controls, heater panels, and ventilation to determine whether the fix is simple, repairable, or requires professional help, saving time, money, and frustration.
Key Takeaways
- Many infrared sauna heating issues can be diagnosed in under an hour
- Power, controls, heater panels, and airflow cause most failures
- Always disconnect power before inspecting internal components
- Ventilation and moisture control directly affect heater performance
- Knowing when to repair versus replace prevents costly mistakes
How to Confirm that the Sauna Heater is Not Working
Many non-functional infrared sauna heaters turn out to be perfectly functional units affected by simple issues, such as, tripped breakers, loose plugs, incorrect settings, or doors left open too long. Before assuming something is broken, spend two to three minutes on this quick triage checklist.
Verify Your Wall Outlet is Live
- Plug in another appliance like a hair dryer or lamp to confirm the outlet delivers power
- Check that the sauna’s power cord is fully seated and not warm, discolored, or showing signs of damage
- Inspect the cord along its length for frays, kinks, or compression damage
Confirm Voltage Compatibility
- Locate the data plate on your sauna (usually near the power entry point or inside the control box area) and verify the voltage rating
- North American homes typically provide 15A or 20A circuits at 120V; some larger IR saunas require 220–240V dedicated circuits
- European and Australian installations commonly run 220–240V—ensure your home circuit matches the sauna’s requirements
Check Your Breaker Panel
- Locate the breaker serving your sauna circuit and reset it if tripped
- If the breaker trips again under load, this signals a possible short circuit or overload—stop testing and arrange professional evaluation
- Check any GFCI outlets near the sauna installation; these can trip independently and cut power without affecting the main breaker
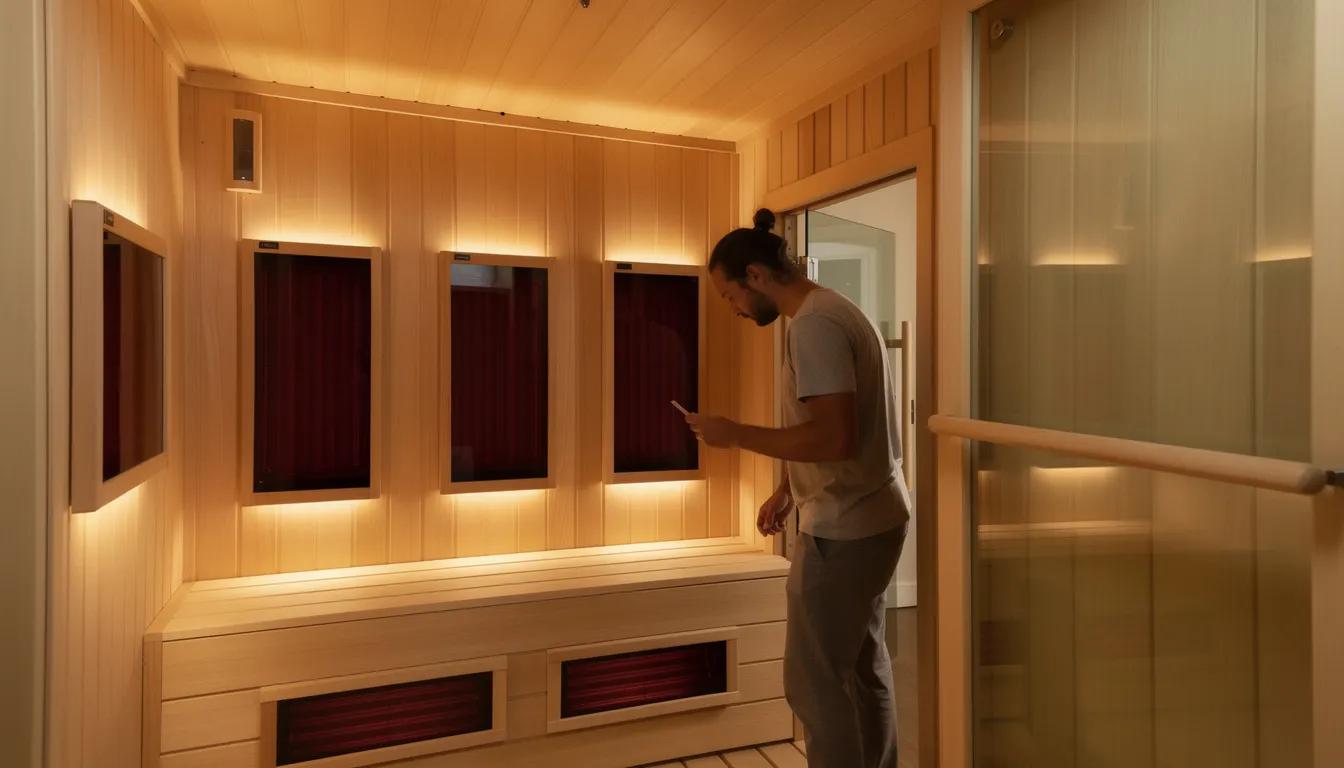
Verify Control Panel Settings
- Confirm the temperature is set appropriately (typically 120–140°F or 50–60°C for infrared cabins)
- Ensure the timer hasn’t expired and the session is actively running
- Check that you’ve pressed the start button—some units require deliberate activation beyond just setting temperature
- If your sauna has a door sensor, confirm the door is fully closed and latched
How to Check the Power Path: From Wall to Control Box
If lights come on but you feel no infrared heat, or if everything remains cold despite a verified good outlet, the issue likely sits somewhere between the wall plug and the heater relay or control box. Here is how to check the power path.
- Turn off the breaker serving your sauna circuit
- Unplug the unit from the wall
- Wait 30 seconds to allow capacitors to discharge
- HomeSaunas recommends consulting a licensed electrician for anything beyond visual inspections
· Locating Key Components
Many infrared sauna cabins route power through a specific path:
- Main power cord enters the cabin through a grommet or junction box
- Junction box (if present) connects the cord to internal wiring
- Control/relay box typically mounted under the bench, on the ceiling, or behind a removable service panel
Trace the power cord from the wall entry point to find these components in your specific model.
· Visual Inspection Points
With power disconnected, look for:
- Burnt smell indicating overheated components
- Browned or melted insulation on wires
- Melted connectors or discolored terminals
- Loose spade terminals that may have vibrated free
- Corrosion from moisture intrusion, especially in humid environments
- Water drips or staining inside the control box area
Checking Inline Fuses
Many control boards include inline fuses protecting the heater circuits:
- Locate fuses on the control board (often 20-amp, 380/500V fast-blow types in white holders)
- Visually inspect for blackened filaments or broken elements
- A blown fuse indicates a fault occurred—replacing with the exact same rating is acceptable once
- If the replacement fuse blows immediately, stop and call a technician
For Confident DIYers
If you’re comfortable using a non-contact voltage tester or multimeter:
- Check whether electricity reaches the control box input terminals
- Check whether voltage passes through to the heater output terminals
- Power reaching the control box but not exiting toward heaters suggests a failed relay, control board, or internal fuse
Understanding where the power chain breaks helps you communicate precisely with technicians and avoid unnecessary part replacements.
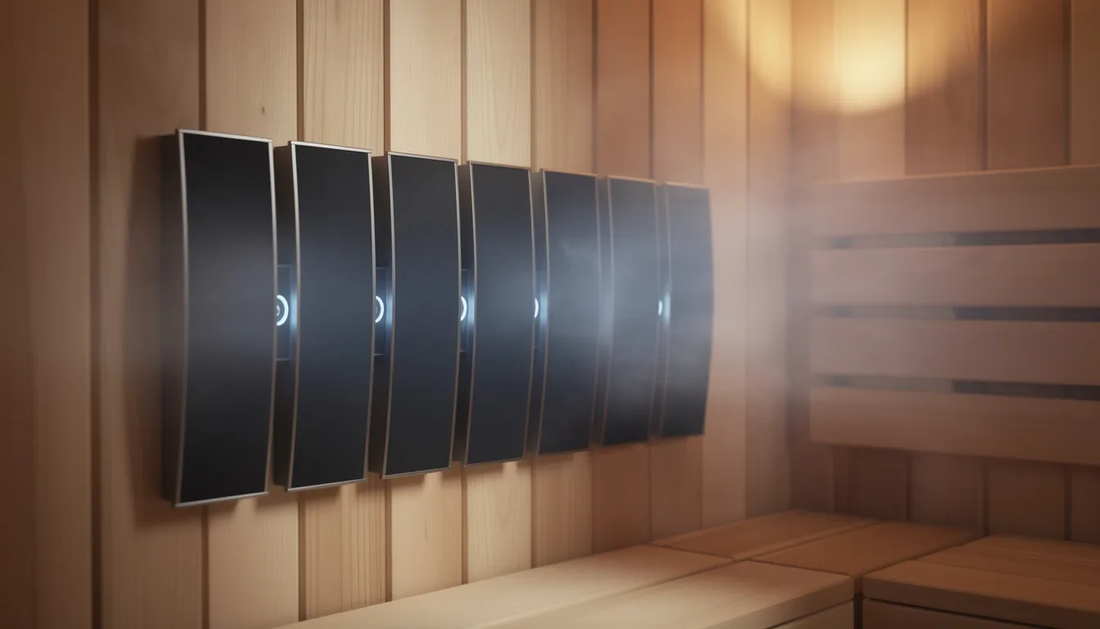
Inspect and Test the Infrared Heater Panels
The best outdoor infrared saunas use one of three heater types. Carbon fiber panels, carbon crystal plates, or ceramic rods. Home saunas uses low-EMF carbon heaters engineered for even, body-directed far infrared heat. Understanding how these emitters work helps you diagnose failures more effectively.
· Identify Which Zones Aren’t Heating
Before disassembling anything, determine the scope of the problem:
- Back wall panels – often the largest and most noticeable when failed
- Side wall panels – may have independent circuits from rear panels
- Front panels – sometimes on a separate relay in dual-zone systems
- Calf/floor heaters – can fail independently in full-body designs
- Bench heaters – if equipped, these warm the seating area
Multiple dead panels in one zone often point to a wiring or relay issue rather than simultaneous panel failures. A single cold spot usually indicates an individual panel problem.
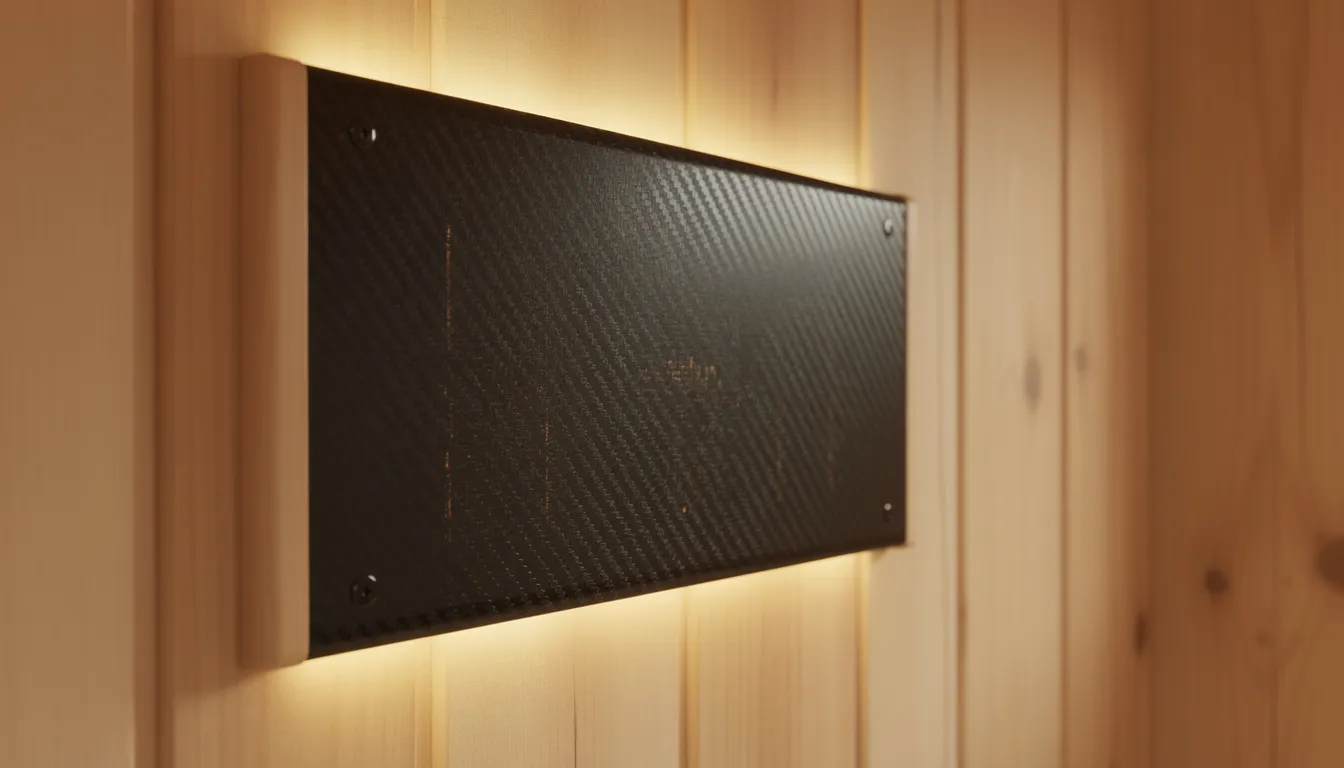
· Physical Inspection
With power disconnected:
- Remove any protective grilles or guards covering the heater panels
- Access mounting screws if panels are removable (consult your owner’s manual)
- Visually inspect panel surfaces for:
- Cracks or physical damage
- Scorching or burn marks
- Discoloration indicating overheating
- Warping from heat damage
Examine the rear wiring harness for:
- Separated or loose connectors
- Corrosion on terminals
- Arcing marks (blackened spots where electricity jumped)
- Broken crimp joints where wires meet lugs
Connection Checks
- Ensure push-on connectors are fully seated on their terminals
- Gently tug each connection to verify it’s secure
- Look for corrosion that might create high resistance or intermittent contact
Resistance Testing
Using a multimeter on the resistance (ohms) setting:
|
Reading |
Meaning |
|
20–100 ohms (typical range) |
Panel likely functional |
|
Infinite resistance (OL) |
Internal break—panel needs replacement |
|
Near zero ohms |
Short circuit—panel needs replacement |
Resistance values vary by panel size and design, so compare similar panels in your cabin to establish a baseline.
· Preventing Panel Damage
Never cover infrared panels with towels, plastic, or stored items. Chronic obstruction causes overheating that damages panel materials and can warp surfaces permanently. This is a frequent cause of premature panel failure that owners often overlook.
· Sourcing Replacement Parts
Sun Home Saunas customers can contact support with their model number and installation date to source exact replacement panels. For other brands or DIY installations, ensure any replacement panels meet appropriate safety certifications (UL, ETL, CSA) for your region.
Evaluate Ventilation, Temperature Behavior, and “Partial Heat” Issues
Sometimes the best infrared sauna heater works but doesn’t reach or hold the target temperature. This situation can stem from undersized heaters, airflow problems, or hidden heat loss rather than a dead component.
· Distinguishing Problem Types
Understanding the symptom pattern helps narrow the cause:
|
Symptom |
Likely Cause |
|
No heat at all |
Electrical failure or dead heater element |
|
Slow warm-up but eventually reaches temperature |
Low-power installation or poor insulation |
|
Never reaches set temperature |
Ventilation, door seal, or sensor issues |
|
Reaches temperature then shuts off early |
Sensor placement or control board problems |
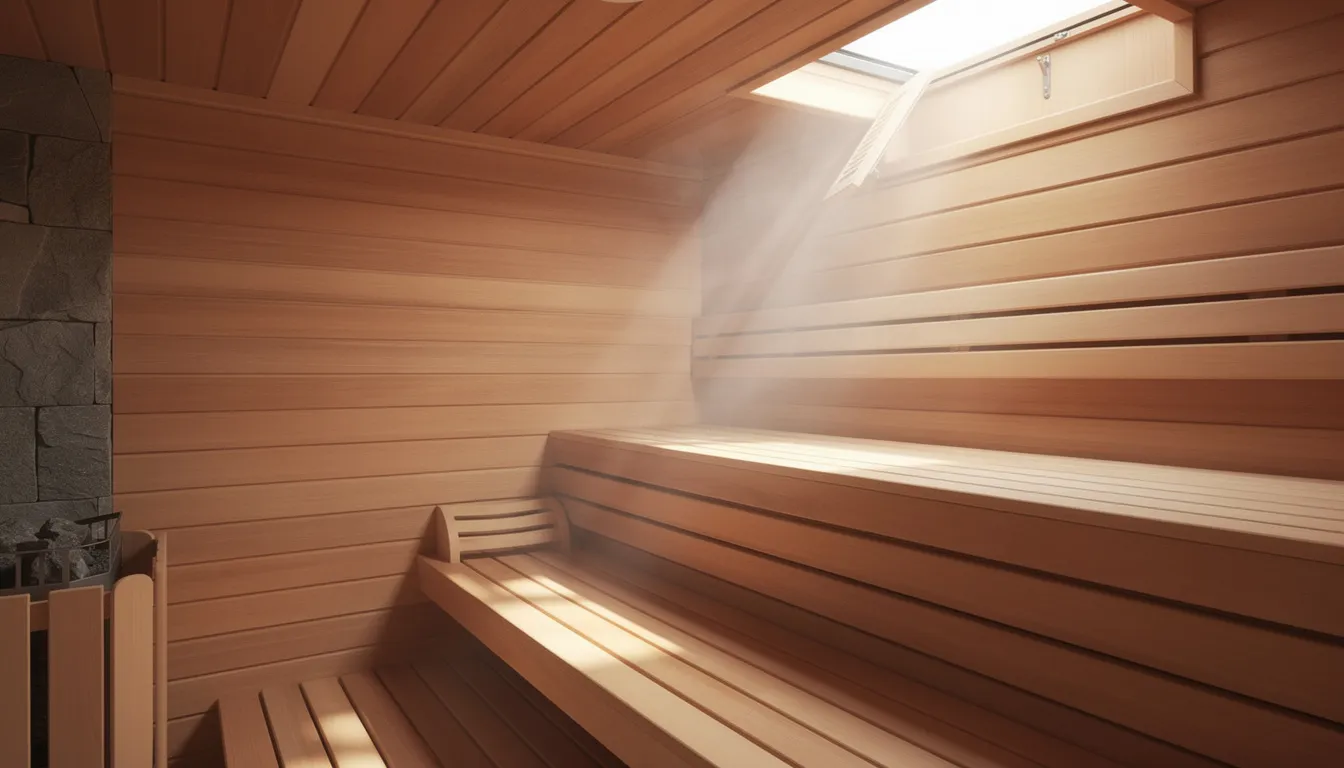
· Ventilation and Airflow
Poor ventilation can cause the control system to throttle output, resulting in hot panels but lukewarm cabin air. This is especially common in tightly sealed or poorly vented installations.
Check Your Vents
- Factory intake vent (typically lower, near the heater base) should be open and unobstructed
- Exhaust vent or gap (near the ceiling) must allow warm air to escape
- Never tape vents shut to achieve “more heat”—this creates unsafe conditions and impairs heater function
Weatherproof outdoor infrared saunas operate at a lower temperature than traditional saunas (typically 110–140°F versus 150–190°F), so proper air circulation matters even though you’re not generating steam.
· Door Seal Inspection
The door is often the largest source of heat loss:
- Check gaskets for compression, cracking, or gaps
- Look for warped frames that prevent proper sealing
- Verify the latch pulls the door tight against the frame
- Examine glass panels for proper seating in their frames
Simple gasket replacement can restore normal temperature performance in many cases.
· Temperature Sensor Placement
The cabin’s temperature sensor tells the control board when to cycle heaters on and off. Improper placement causes erratic behavior:
- The sensor should not be pressed directly against a heater panel (reads too hot)
- It should not be hidden behind trim or in a dead-air pocket (reads too cold)
- It should not be exposed to drafts from an intake vent (reads inconsistently)
Heater Capacity
In older or DIY cabins, total wattage may be insufficient for the cabinet size. A common rule of thumb used by manufacturers is: approximately 15 watts per cubic foot of interior space for far infrared panels.
Example Calculation:
- Interior dimensions: 4’ × 4’ × 7’ = 112 cubic feet
- Recommended wattage: 112 × 15 = approximately 1,680 watts minimum
If your combined panel wattage falls significantly below this threshold, reaching maximum temperature will be difficult regardless of how well everything else functions.
Ventilation and Mold Prevention Checklist (Protect Your Investment)
Inadequate ventilation and poor post-session moisture management lead to poor heater performance and the growth of mold, wood damage, and premature failure of electrical components. Even though the best infrared saunas for home operate without steam, sweating generates significant moisture that must be managed.
· Ventilation Requirements
Proper airflow protects your health and your equipment:
- Intake vent at floor level should be clear of obstructions (4–6 inches diameter recommended)
- Exhaust vent at or near ceiling should allow warm, moist air to escape
- Minimum air exchange with the surrounding room prevents component overheating
- HomeSaunas designs airflow to support both performance and safety in all cabin models
Industry standards recommend 4–6 air changes per hour for optimal operation. Insufficient airflow can halve heater element lifespan due to thermal stress.
Post-Session Drying Protocol
After each sauna session:
|
Step |
Duration |
Purpose |
|
Prop door slightly open |
30–60 minutes |
Allows moisture to escape |
|
Run heaters on low (empty cabin) |
10–15 minutes |
Drives off residual moisture |
|
Ensure room ventilation |
Ongoing |
Prevents ambient humidity buildup |
This routine supports drying out moisture from the wood and prevents the conditions that allow mold to establish.
Weekly Mold Prevention
- Wipe down benches, floor, and corners with a lightly damp microfiber cloth
- For stubborn spots, use a gentle, non-bleach sauna-safe cleaner
- Avoid harsh chemicals that off-gas toxic fumes when heated
- Pay special attention to areas where skin contact occurs most frequently
Monthly Inspection Points
Check these hidden areas for signs of moisture problems:
- Under benches and behind removable backrests
- Floor edges where wall meets floor
- Inside the control box area (look for condensation or corrosion)
- Around any glass or window installations
Look for dark staining, musty odors, or visible mold growth. Address leaks or chronic humidity immediately. Approximately 10–15% of sauna complaints link to poor ventilation fostering mold growth.
Environmental Controls
- Maintain indoor humidity under 50–55% in the surrounding space
- Use an exhaust fan or dehumidifier, especially in basements or coastal climates
- Ensure adequate room clearance (1–2 inches minimum) around the cabin for circulation
Installation Considerations
Wooden infrared cabins should never be installed directly on bare concrete without a vapor barrier. Moisture wicking up through concrete will damage the floor structure and create persistent mold conditions. A proper moisture barrier and subfloor are critical for longevity and reliable heater operation.
Repair vs. Replace: When to Call a Pro or Upgrade
Some issues are simple to resolve. For example, a loose connector, a blown fuse, or an obvious wiring problem. Others signal that professional service or a complete upgrade is the safer, more economical path forward.
· When DIY Troubleshooting Can Continue
You can proceed with repairs when:
- Wiring appears intact with no signs of heat damage
- A single dead panel is confirmed by resistance test
- Loose connections can be safely re-seated with power disconnected
- Fuses blow once but hold after replacement
- The issue is clearly mechanical (gaskets, vents, obstructions)
Red Flags Requiring Professional Help
Stop DIY troubleshooting and contact a licensed electrician or manufacturer support when you encounter:
- Frequent breaker trips indicating overload or short circuit
- Visible charring on wiring, terminals, or control boards
- Melted insulation anywhere in the electrical path
- Electric shocks or tingling when touching the cabin
- Water intrusion into electrical cavities
- Failures in units still under warranty (DIY repairs may void coverage)
When Upgrading Makes Sense
Consider replacing rather than repairing when:
- The sauna is more than 10–12 years old
- It uses older high-EMF panels that lack modern efficiency
- Repeated component failures suggest systemic problems
- Repair costs approach 40–50% of replacement value
Before Calling Support
Document these details to speed up diagnosis and reduce service costs:
- Model name and serial number
- Purchase year and installation date
- Photos of the control box and heater wiring
- Any Error Codes displayed on the control panel
- Steps you’ve already taken and results observed
Summary
A properly installed and maintained infrared sauna should deliver reliable heat and wellness benefits for many years. Methodical diagnostics prevent unnecessary part swapping and help you achieve the best sauna experience possible. Whether you’re troubleshooting cold spots in an aging cabin or considering an upgrade to the best sauna technology on the market, understanding how your heater works puts you in control. Need expert guidance or replacement parts? Contact a sauna professional to restore safe, reliable heat.
Frequently Asked Questions
Why does my infrared sauna turn on but not heat?
This usually indicates a heater panel, relay, or sensor issue. Power reaches the unit, but heat isn’t being delivered due to a failed component or safety cutoff.
Can a blown fuse stop the heater from working?
Yes. Inline fuses protect heater circuits. If blown, heaters won’t receive power. Replace once with the same rating. Repeat failures require professional service.
Do infrared saunas need ventilation to heat properly?
Absolutely. Poor airflow can cause overheating protection to activate, limiting output and preventing the sauna from reaching its target temperature.
How do I know if a heater panel is bad?
A resistance test with a multimeter will show infinite or zero resistance if the panel has failed and needs replacement.
When should I stop DIY troubleshooting?
Stop if breakers trip repeatedly, wiring shows burn damage, moisture reaches electrical parts, or the unit is under warranty.
