Maximize cold plunge therapy health benefits and achieve glowing skin with a targeted routine. After using your cold plunge tub for home, gently pat dry, then immediately apply hydrating mists, nourishing serums (like hyaluronic acid), and rich moisturizers. This locks in moisture, rebuilds the skin barrier, and complements the anti-inflammatory effects of cold immersion for a radiant complexion.
The Best Post-Cold Plunge Skincare Routine for Glowing Skin
Key Takeaways
· Using a cold plunge tub for home wellness tightens pores and reduces puffiness, but it can also strip moisture. Proper skincare restores balance and radiance.
· Cold plunge therapy health benefits include enhanced circulation and inflammation reduction; post-session hydration supports glowing, healthy skin.
· Gently pat dry, warm up naturally, and apply hydrating mist, nourishing serums, and rich moisturizers to lock in nutrients after cold immersion.
· Pay extra attention to delicate areas like lips, under-eyes, and hands with specialized products to prevent dryness and irritation.
· Consistent post-cold plunge skincare ensures your skin adapts and thrives, turning cold therapy into a holistic self-care and beauty ritual.
Taking a cold plunge can be one of the most refreshing things you do for your body. The sharp jolt of ice cold water triggers various physical responses that can boost your immune system, improve blood circulation, and elevate your mood. It is worth noting that a cold plunge can be both a blessing and a challenge for your skin.
While cold water can tighten pores and reduce puffiness, it can also strip your skin of moisture and leave it dry or sensitive. You must follow a thoughtful skincare routine to keep your skin looking fresh, healthy, and radiant after a cold plunge. Read on to understand the best post-cold plunge skincare steps that will leave your skin glowing and happy.
What Happens to Your Skin During a Cold Plunge
When you immerse yourself in a cold plunge tub, your blood vessels constrict, also known as vasoconstriction. This reaction helps to reduce inflammation and puffiness, which is why many people notice that their skin looks tighter and more toned after a cold plunge.
However, vasoconstriction also means less blood and fewer nutrients reach the outer layers of your skin. As a result, your skin can temporarily lose its natural warmth and moisture, making it prone to dryness or irritation if you don't properly care for it after the cold immersion session.
Cold water can also disrupt the skin's lipid barrier, the protective layer that locks in hydration while keeping environmental aggressors out. To maintain your skin's health and support its natural glow, you must repair the skin barrier, replenish moisture, and stimulate blood flow after your cold plunge. Here is a step-by-step guide on how to go about it.
Tip: Setting up a cold plunge tub for home wellness routines allows you to build a personalized skincare routine right after each session, ensuring your skin benefits fully from both cold therapy and proper aftercare. Learn more: How to Create a Cold Plunge Routine
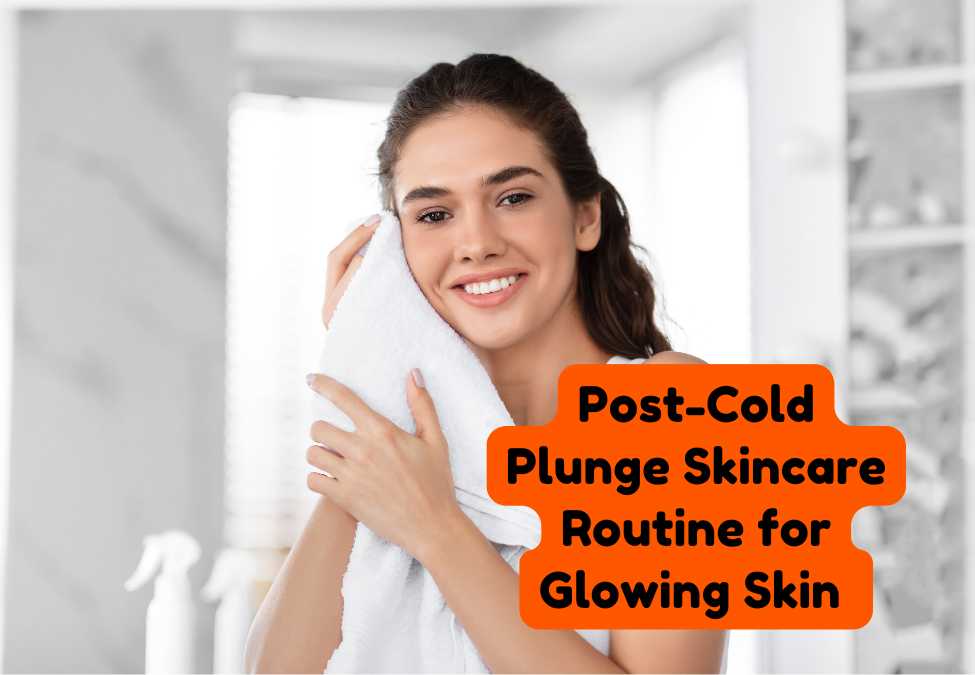
Step 1: Gently Pat Your Skin Dry

Once you finish your session inside one of the best cold plunge tubs, you will be tempted to rub your body vigorously with a towel to warm yourself up. However, you should know that aggressive rubbing can irritate your skin, especially when it is slightly sensitive to cold exposure.
Instead, gently pat your skin dry with a soft, clean towel. The idea is to absorb the excess water without causing friction that might damage your skin's delicate surface. This gentle method helps prevent additional redness or sensitivity, setting the right tone for the subsequent skincare steps.
Step 2: Warm Up Slowly to Encourage Blood Flow
Allow your body temperature to rise naturally before applying any skincare products. Do not rush this process by jumping into a warm shower or sitting next to a heater. Doing so can shock your body further, disrupting your skin's system.
Instead, cover yourself in cozy clothes, sip on a warm beverage like herbal tea, and let your body regain its usual warmth gradually. As your body warms up, blood flow to your skin improves, which is crucial for absorbing the nourishing products you are about to apply and healing.
Tip: Integrating awareness of how to use a cold plunge safely at home into your skincare approach ensures you protect both your skin and overall wellness during and after every session. Learn more: Cold Plunge Guide: Benefits, Risks & How to Start Safely
Step 3: Mist Your Face with Hydrating Spray
Apply a hydrating spray once your skin is no longer freezing but still slightly damp from the environment. A mist filled with ingredients like rose water, aloe vera, or hyaluronic acid can launch the process of rehydration.
The mist adds a fresh layer of moisture while calming any irritation the cold water may have caused. Keep your spray at arm's length and let the mist naturally fall onto your face and neck, instead of drenching your skin. This light application prepares your skin to absorb deeper treatments more effectively.
Step 4: Apply a Nourishing Serum
Serums are highly concentrated treatments designed to penetrate deeply into the skin and deliver powerful ingredients where they are needed most. After your cold immersion session, your skin's pores close and gradually open as your body warms up, making it the ideal time to apply a nourishing serum.
Choose a formula rich in antioxidants like vitamin C to help repair and protect your skin against environmental damage. Ingredients like hyaluronic acid are also vital because they attract and hold onto moisture, giving your skin a youthful and plumper look.
Press the serum into your skin with your fingertips instead of rubbing it in. This technique is more soothing and promotes better absorption without irritating your skin.
Step 5: Use a Rich Moisturizer to Seal in the Treatment
After applying your serum, it's crucial to lock it all in with a rich, hydrating moisturizer. The moisturizer seals the hydration and nutrients, protecting your skin from dryness and environmental stress. Choose a moisturizer with glycerin, ceramides, and squalane, known for supporting and rebuilding the skin's natural barrier.
Apply your moisturizer generously over your face and neck. Extend other dry body parts, like your hands, arms, and legs. Use soft, circular application motions to stimulate circulation while ensuring an even application.
Tip: Combining cold immersion with mindful skincare routines can amplify the overall cold plunge therapy health benefits, supporting radiant skin, enhanced circulation, and holistic wellness.
Step 6: Pay Special Attention to Delicate Areas
Some areas of your skin are more sensitive than others and may need extra care after using the best cold plunge. The under-eye area, lips, and hands often suffer the most because they have fewer oil glands and thinner skin. Apply a thick, healing balm that contains beeswax, shea butter, or lanolin on your lips to prevent chapping.
For the under-eye area, use a lightweight, hydrating eye cream that can restore moisture without causing puffiness. You can treat your hands with a rich hand cream that contains protective ingredients like vitamin E or jojoba oil. Giving special attention to these delicate areas ensures that your entire body recovers well from the cold exposure.
· Step 7: Use Gentle Facial Massage Techniques

Consider incorporating a gentle facial massage into your post-cold plunge routine to boost circulation and ensure your skincare products work more effectively. Massage your face with light, upward strokes using clean hands or a tool like a gua sha stone or jade roller.
This encourages lymphatic drainage, reduces puffiness, and gives your skin a natural glow. Always use a light touch, especially since your skin might still be slightly sensitive. A few minutes of mindful massage can transform how vibrant and refreshed your skin looks and feels.
Step 8: Always Use Sunscreen If You're Heading Outdoors
UV rays can still cause damage to your skin even if the weather is chilly and the sun seems hidden behind clouds. After treating your skin post-cold plunge, the last thing you want is to undo all that good work with sun damage. If you plan to go outside, apply a broad-spectrum sunscreen with at least SPF 30.
Look for gentle and moisturizing sunscreens, preferably with zinc oxide or titanium dioxide, because they are less likely to irritate sensitive skin. Sunscreen protects your skin's newly restored moisture barrier, keeping your complexion looking even and luminous.
Why Consistency is Crucial in Post-Cold Plunge Skincare
Always remember that skincare is a consistent practice, not a one-time event. The more regularly you follow your post-cold plunge skincare routine, the healthier and stronger your skin will become.
Over time, your skin will adapt to the cold better, recover faster, and maintain its glow even after the most intense plunges. Developing a routine you look forward to can enhance the emotional and mental benefits of cold plunging, turning it into a holistic self-care ritual.
Tip: When you factor in all the home cold plunge system benefits, including improved skin tone, faster recovery, and easier access to wellness routines, investing in your own system becomes a valuable long-term choice. More reading: The Science Behind Sauna and Cold Plunge Therapy: Benefits for Athletes and Fitness Enthusiasts
Finally
With the right post-cold plunge skincare routine, cold water immersion can help you achieve radiant, glowing skin. Always treat your skin with gentle, nurturing steps. These include patting it dry carefully, misting it for hydration, applying serums and moisturizers, and handling sensitive areas with extra care.
Doing so will help your skin recover and maintain a natural glow. Incorporate a little facial massage, consistent sun protection, and good overall wellness habits to ensure your skin survives the cold. With this simple but effective routine, every cold plunge can leave you feeling and looking your best.
Sun Home makes the world's best home saunas and cold plunges. Browse our site to learn more! Reach out today and find out more from our Cold plunge experts.
For gyms, spas, or health clubs looking to add value for their clients, a commercial cold plunge tub wellness centre installation can boost client satisfaction and recovery offerings considerably.
FAQs
Why does skin need special care after a cold plunge?
Cold water constricts blood vessels and disrupts the skin's moisture barrier, making it prone to dryness and sensitivity without proper hydration.
What should you apply first after a cold plunge session?
Start with a hydrating mist like rose water or aloe vera to prep skin, then follow with serum and moisturizer for deep nourishment.
Can cold plunges improve skin appearance long-term?
Yes, regular cold immersion reduces puffiness and stimulates circulation; combined with consistent skincare, it promotes glowing, healthy skin.
Should you massage your face after a cold plunge?
Gentle facial massage with upward strokes boosts circulation and lymphatic drainage, enhancing product absorption and reducing puffiness.
Do you need sunscreen after a cold plunge indoors?
If going outdoors, apply SPF 30+ to protect your restored skin barrier from UV damage, even in cold or cloudy weather.
