Transform your backyard into a secluded sanctuary with strategic privacy landscaping for your outdoor sauna and cold plunge. By combining evergreen hedges, privacy fencing, and architectural pergolas, you can block neighbor sightlines while maintaining airflow. Focused placement and layered plantings ensure a year-round, discreet wellness retreat that enhances both relaxation and property value.
How Do You Add Privacy Around Outdoor Saunas & Cold Plunges?
Are you planning to install an outdoor infrared sauna or cold plunge but worried about neighbor visibility? Privacy landscaping transforms your backyard wellness area from exposed equipment into a secluded sanctuary where you can relax completely during your home sauna wellness sessions.
This comprehensive guide walks you through practical strategies for combining fences, plants, and structures to create year-round privacy around your best infrared sauna for home use and cold plunge areas.
Key Takeaways
- Combine fencing, plants, and structures to block views from neighbors while maintaining airflow—plan sightlines from second-story windows and adjacent properties before installing any equipment.
- Keep 4–6 feet of clear access around your sauna and cold plunge tub home units for safety, ventilation, and maintenance requirements.
- Privacy design must work year-round for hot and cold contrast therapy, not just during summer when deciduous foliage is full.
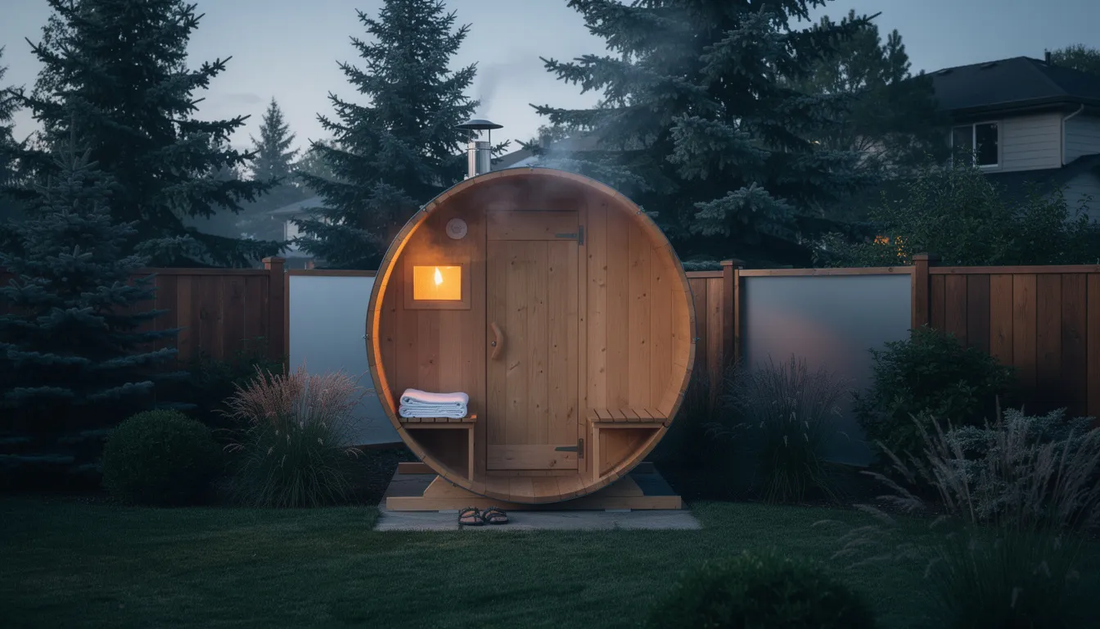
- Orient sauna windows and glass doors toward internal garden views or screened areas rather than neighboring homes, using frosted or tinted glass on exposed sides.
- Evergreen hedges, pergolas, and strategic fence placement are the top tools for screening outdoor infrared sauna wellness areas without creating a boxed-in feeling—and thoughtful landscaping increases both wellness benefits and resale value.
Why Does Privacy Matter for Your Outdoor Sauna and Cold Plunge?
Privacy matters more for an outdoor sauna and cold plunge than almost any other backyard feature. Whether you're stepping out in a robe, transitioning between extreme heat and cold water, or simply unwinding after a long day, the last thing you want is to feel exposed to neighbors or passing traffic.
Evening sessions, repeated daily use, and the natural desire to relax without self-consciousness make seclusion essential for a genuine backyard retreat.
Many SunHomeSaunas customers install their units in backyards or side yards and only think about privacy after the fact. A better approach is to plan your privacy landscaping at the same time as your sauna and cold plunge installation—saving time, money, and the frustration of retrofitting solutions that don't quite work.
This guide walks through a practical framework: first, evaluating sightlines, then building layers of privacy using fences, plants, structures, and smart glazing around your luxury home sauna and plunge areas.
How Do You Map Sightlines and Plan Your Layout?
Before breaking ground on any landscaping or construction, conduct a quick "privacy audit" of your outdoor space. This step alone can save thousands of dollars in unnecessary screening and help you position equipment for maximum seclusion.
Conduct Your Privacy Audit
- Stand in your yard at different times of day and identify all viewing angles: neighbor's second-story windows, elevated decks, nearby streets, and alleyways.
- Note where the sun hits throughout the day, as this affects both comfort and visibility (backlighting at dusk can create silhouettes).
- Create a simple top-down sketch marking your proposed sauna location, cold plunge position, house doors, property lines, and main viewpoints.
- Walk the perimeter of your property and look back toward the planned wellness area from each potential observation point.
Optimize Your Placement
- Orient the sauna door and main windows toward the most private direction—typically facing your house, a solid fence, or a dense garden bed.
- Position the cold plunge within a 6–10 foot walk from the sauna door, along a route that can be screened with plants or privacy panels.
- For small urban lots, tuck the sauna and plunge against the least-exposed boundary (often the back fence or a side yard setback) to reduce the total amount of privacy infrastructure needed.
When you have enough space, placing your wellness zone in an unused corner or shaded garden bed can transform a forgotten area into a serene retreat—similar to how Olympian Gwen Jorgensen converted a sunless garden spot into a private sauna oasis overlooking mature trees.
What Window Placement and Privacy Solutions Work Best?
Many SunHomeSaunas outdoor models feature clear glass doors or panoramic windows that flood the interior with natural light and connect you to nature. However, these beautiful design elements require intentional orientation and screening to maintain privacy during your sauna experience.
Basic Window Placement Rules
- Avoid pointing large glass panels directly at neighboring houses or public areas.
- Face windows toward internal garden views, a privacy fence, a water feature, or a green wall.
- Position the most private side with clear glass for unobstructed views, while screening exposed sides.
Strategic Window Solutions
|
Window Position |
Privacy Solution |
|
Facing neighbors |
Frosted, tinted, or one-way reflective glass |
|
Upper walls |
Clerestory windows (top third of wall) that admit light above eye level |
|
Garden-facing |
Clear glass for maximum connection to lush greenery |
|
Street-facing |
Exterior privacy layers like planting beds or slatted screens |
Consider placing higher clerestory windows on sides facing neighbors—these admit ample light while keeping sightlines above standing height. For sides with potential visibility issues, frosted or tinted glass works beautifully while leaving your most private view in clear glass.
Add Exterior Privacy Layers
- Install 3–4-foot-deep planting beds in front of sauna windows with dense shrubs or ornamental grasses.
- Use slim trellis panels or slatted timber screens spaced about 1–2 inches apart to blur views without blocking airflow.
- Support climbing roses, jasmine, or clematis on vertical structures to create living privacy walls with fragrant blooms.
For nighttime sessions, use dimmable outdoor-rated lighting inside and around the sauna. Directing interior lights downward and avoiding bright backlighting near clear windows significantly reduces visible silhouettes—an often-overlooked detail that makes evening contrast therapy feel truly private.
What Fences, Walls, and Screens Provide the Best Privacy?
Structural elements create the baseline of privacy before any plants are added. Think of fences and walls as the bones of your privacy design—they provide immediate screening while plants grow to maturity.
Fence Recommendations
- Install 6–8-foot privacy fences (where local codes allow) along the most exposed property lines.
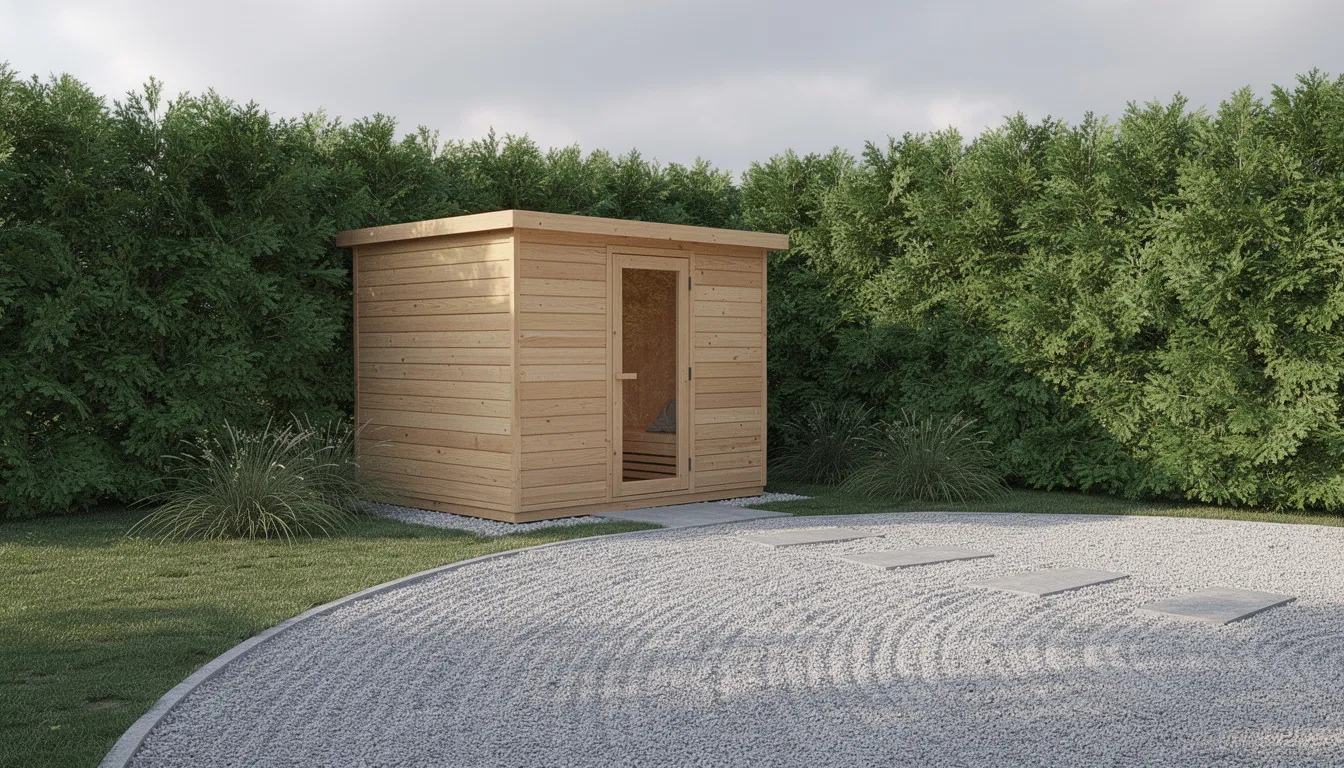
- Choose materials that complement your sauna's exterior: cedar, thermally modified wood, or composite slats all pair well with SunHomeSaunas units.
- Mix solid lower sections (to block seated and plunge-level views) with slatted or lattice upper sections that allow natural light and airflow while screening standing-height sightlines.
Strategic Screen Placement
Stand-alone privacy screens work exceptionally well for targeted coverage. A 4–6-foot-wide panel positioned near the cold plunge can block key angles from a neighboring deck or kitchen window without enclosing the entire yard.
This approach feels more intentional than a fortress-style perimeter and allows you to add privacy exactly where needed.
In dense urban areas, masonry or stone walls around part of the sauna zone serve double duty as sound barriers, softening street noise to enhance the wellness atmosphere. The warmth of stone also complements the natural wood aesthetic of most outdoor saunas.
Before Building
- Confirm local building codes and HOA rules on fence and wall heights, particularly near property lines and front setbacks.
- In the UK, structures within 2 meters of a boundary must stay under 2.5 meters in height under Permitted Development rules.
- Many municipalities require permits for fences above 6 feet, so check requirements before construction.
How Do You Use Trees, Hedges, and Plants for Layered Privacy?
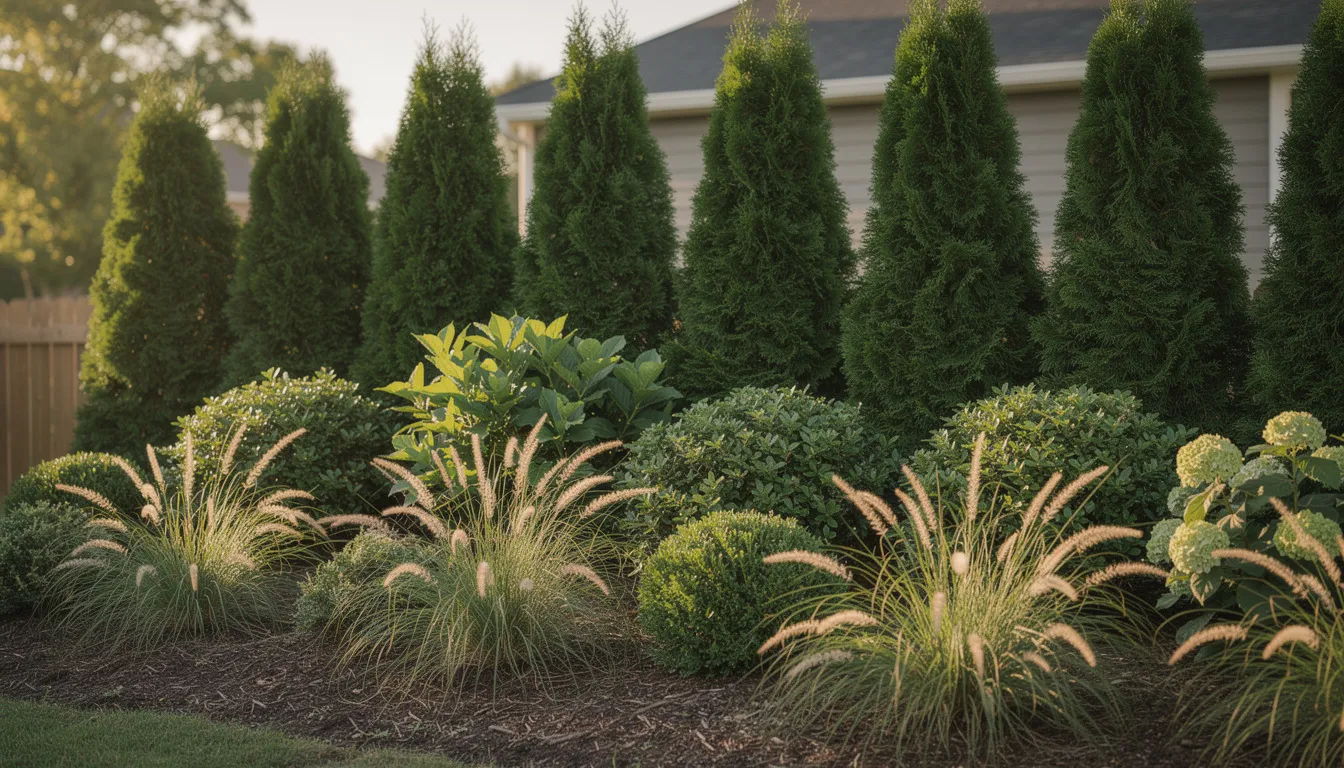
Natural barriers create privacy that feels organic rather than institutional. The secret is layering: tall structural trees at the back, medium-height shrubs in the middle, and lower perennials or grasses at the front.
This approach obscures views from both upper-story windows and ground level while creating visual depth and texture.
The Layering Strategy
|
Layer |
Height |
Example Plants |
Purpose |
|
Tall trees |
20–30 feet |
Thuja 'Green Giant', Italian cypress |
Block elevated views, create a backdrop |
|
Medium shrubs |
5–10 feet |
Emerald green arborvitae, privet, yew |
Primary screening at eye level |
|
Low plantings |
2–4 feet |
Ornamental grasses, compact boxwood |
Soften edges, add texture |
Top Evergreen Recommendations
For year-round privacy around your home sauna for sale and cold plunge zones, evergreen screens are essential. Consider:
- Thuja 'Green Giant': Fast-growing (3–5 feet per year), reaching 30+ feet at maturity—ideal for creating a natural barrier against neighbors.
- Emerald Green Arborvitae: Narrower profile, perfect for tight spaces, grows 10–15 feet tall.
- Italian Cypress: Columnar form provides vertical screening without taking up much yard space.
- Yew: RHS-recommended for UK climates, grows densely to 3 meters tall and tolerates frost and wind.
Ornamental Grasses for Pathway Screening
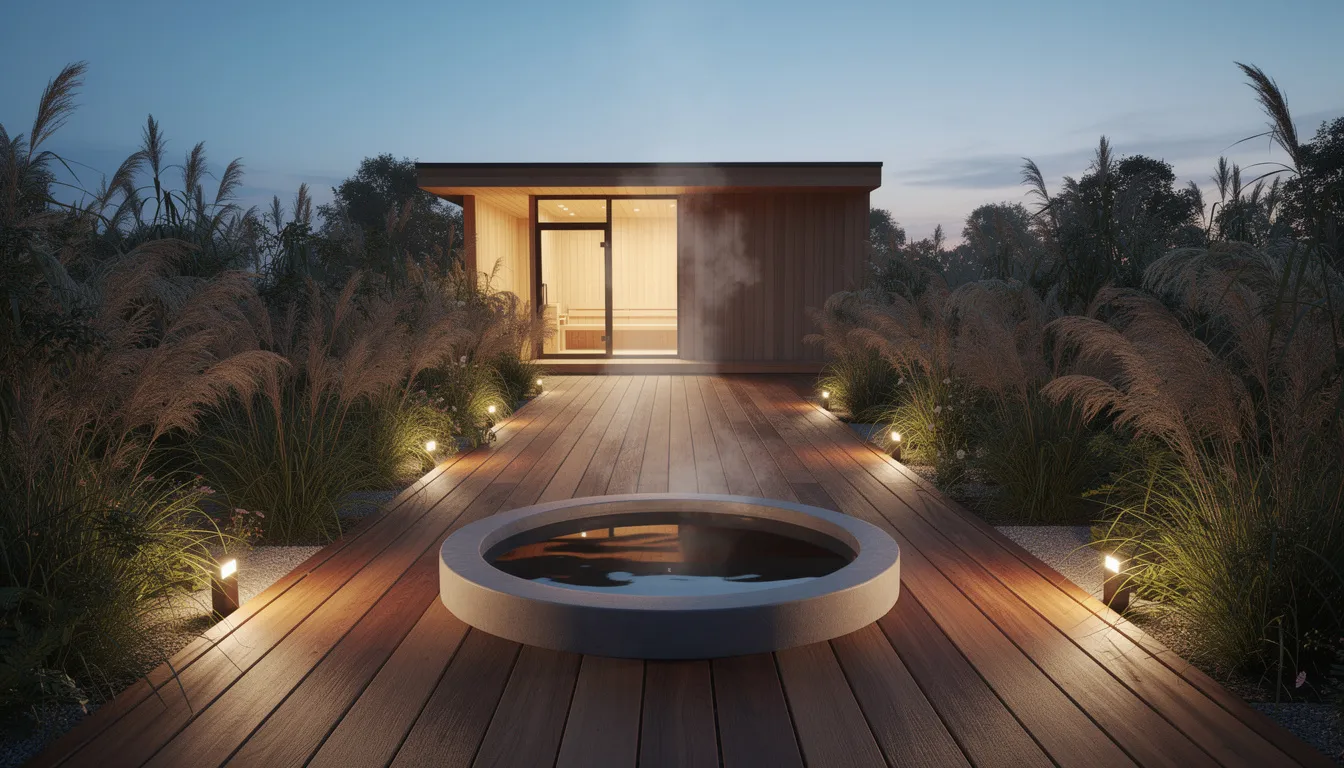
Plant bands of Miscanthus, feather reed grass, or fountain grass along paths to the cold plunge. These soft, moving plants visually shield short walks from house to water while adding texture and gentle sound in the breeze.
They're also low maintenance and work beautifully through late fall and into winter.
Spacing Guidelines
- Keep at least 3–4 feet between plantings and sauna or cold plunge foundations to avoid moisture issues, allow ventilation, and maintain service access.
- Space hedges according to mature width to avoid overcrowding—most arborvitae need 3–4 feet between plants for a dense screen.
- For large trees with aggressive root systems (willow, maple), maintain 10–15 feet from any foundations, buried lines, or plumbing.
In snowy climates, choosing conifers and broadleaf evergreens that retain foliage through winter ensures privacy during the months when contrast therapy feels most rewarding.
There's nothing quite like emerging from a hot sauna into crisp winter air, surrounded by lush greenery that persists even when other plants have dropped their leaves.
What Pergolas, Cabanas, and Covered Walkways Add Privacy?
Architectural elements create a defined "spa room" feeling outdoors while supporting both privacy and shade. A well-designed pergola or cabana transforms your wellness area from equipment in the yard into a true backyard paradise.
Pergola and Cabana Options
- Add a pergola or small cabana structure over the cold plunge or as a connecting zone between house and sauna.
- Use slatted sides or outdoor curtains to block views from neighboring lots while maintaining airflow.
- Install trellised sides to support climbing plants like jasmine, clematis, or flowering vines, creating living privacy walls.
Vertical Elements
Vertical trellises on pergolas offer incredible versatility. They provide immediate partial screening while plants establish, then become lush, fragrant privacy walls within one to two growing seasons.
This approach invites relaxation through both visual beauty and the sensory experience of fragrant blooms.
Covered Walkways
A covered walkway or overhead beams from house to sauna signals a private spa corridor and justifies using heavier screening along that path. In rainy climates, this structure ensures year-round access without elemental exposure—you can walk from your door to your sauna in a robe without getting soaked.
Practical additions under pergolas:
- Install hooks and towel bars for robe storage.
- Add benches or seating for cool-down periods between sauna sessions.
- Position these elements intentionally away from sightlines to neighbor windows.
For the most cohesive result, match wood species and finishes between your pergola or cabana and the exterior of your SunHomeSaunas unit.
Cedar paired with cedar, or thermally modified wood throughout, creates a unified aesthetic that reads as a designed spa environment rather than assembled equipment.
How Do You Design Discreet Sauna-to-Cold Plunge Flow?
How people actually move between sauna and plunge determines whether the space feels private and luxurious or awkward and exposed. This flow deserves as much attention as the equipment itself.
Distance and Placement
- Position the cold plunge within 6–12 feet of the sauna door to minimize exposure time in towels or swimsuits, especially in cold climates.
- Create a direct, obvious path so you're not navigating obstacles between heat and cold.
- Consider placing the plunge at a slight angle from the sauna door rather than directly in front to add a sense of journey.
Pathway Screening
Screen the transition pathway with waist-to-shoulder-height elements that hide movement without creating dark corridors:
- Tall ornamental grasses provide gentle, moving privacy.
- Narrow hedges of boxwood or privet offer year-round screening at minimal width.
- Angled privacy panels (positioned at 30–45 degrees from the path) block specific sightlines while maintaining an open feeling.
Surface and Lighting
The walk from sauna to cold plunge should feel both safe and luxurious:
- Use non-slip surfaces like composite decking, textured concrete, or stone pavers.
- Install subtle step lighting with string lights or low-voltage path fixtures for nighttime sessions.
- Avoid bright overhead lighting that could make you feel exposed; instead, opt for warm, downward-facing fixtures.
Outdoor Shower Placement
If you're including an outdoor shower or rinse station, position it in the most private part of the layout—often behind the sauna or shielded by a partial wall and evergreen plantings.
This placement keeps the shower functional for pre- and post-sauna rinsing while maintaining complete discretion.
What Sound, Lighting, and Atmosphere Elements Enhance Privacy?
Privacy encompasses more than just visual screening. How the space feels—the sounds, the light, the overall atmosphere—contributes enormously to the sense of seclusion and stress relief that makes a home sauna wellness sanctuary truly restorative.
Lighting for Privacy
- Install low-voltage, warm-white pathway lights and downlighting on fences or pergolas.
- Avoid bright, upward-facing fixtures that create glare and silhouettes visible from neighboring properties.
- Use dimmers so you can adjust lighting based on time of day and desired atmosphere.
Sound Design
A small water feature near the sauna area creates ambient noise that masks conversation and splashing sounds. Options include:
- Recirculating fountains (wall-mounted or freestanding).
- Small bubbling rocks or urns.
- The cold plunge itself, if equipped with a gentle circulation feature.
Direct any outdoor speakers inward toward the house or garden, not toward property boundaries. This keeps the spa experience intimate while allowing you to enjoy music or guided meditation during sessions.
Visual Refinements
- Use dark, matte finishes on hardscaping and furniture to reduce reflections in sauna windows and glass doors at night.
- Position the focal point of your seating area toward internal garden views or a water feature rather than outward.
- Consider adding lavender, rosemary, or other aromatic plants near seating areas to engage the sense of smell alongside sight and sound.
These atmospheric touches transform your outdoor space from a collection of wellness equipment into a true sensory retreat—a garden escape that invites relaxation every time you step outside.
What Practical Maintenance and Safety Considerations Matter?
The best privacy solutions work seamlessly with the operational realities of owning an outdoor infrared sauna and cold plunge. Plan for these practicalities now to avoid frustration later.
Maintenance Access
- Leave at least 24–36 inches of clear access on service sides of saunas, heaters, and cold plunge equipment bays.
- Ensure technicians can perform maintenance without removing fence sections or cutting back plants.
- Mark access panels clearly in your landscape plan so future plantings don't obstruct them.
Plant Selection for Minimal Maintenance
|
Good Choices |
Avoid |
|
Evergreen shrubs |
Large deciduous trees overhead |
|
Ornamental grasses |
Fruit trees near the plunge |
|
Compact boxwood |
Anything with heavy flower drop |
|
Clumping bamboo |
Plants that attract bees near the plunge edge |
Choose low-litter plants near the cold plunge to keep debris out of the water and reduce filtration strain. Experts recommend keeping trees with aggressive roots well away from slab foundations, buried lines, and plumbing to prevent damage. Willow, silver maple, and poplar roots can cause cracking and leaks within just a few years.
Storage and Organization
Plan discreet storage for covers, chemicals, and accessories:
- A small outdoor cabinet or bench with hidden storage.
- Position storage where it's screened from view but easy to reach.
- Consider built-in storage under deck seating or pergola benches.
Fire Safety
For traditional wood-burning heaters, maintain non-combustible clearances as specified by the manufacturer. Dense plantings and timber screens should respect local fire codes—typically requiring 36–48 inches of clearance from heat sources.
Always verify requirements with your local building department.
How Does SunHomeSaunas Help You Create a Private Wellness Sanctuary?
Thoughtful privacy landscaping transforms your low-EMF infrared sauna and cold plunge from backyard equipment into a dedicated wellness room. When you treat the area as a cohesive environment rather than individual pieces, every session becomes an escape from the everyday—a true spa experience steps from your back door.
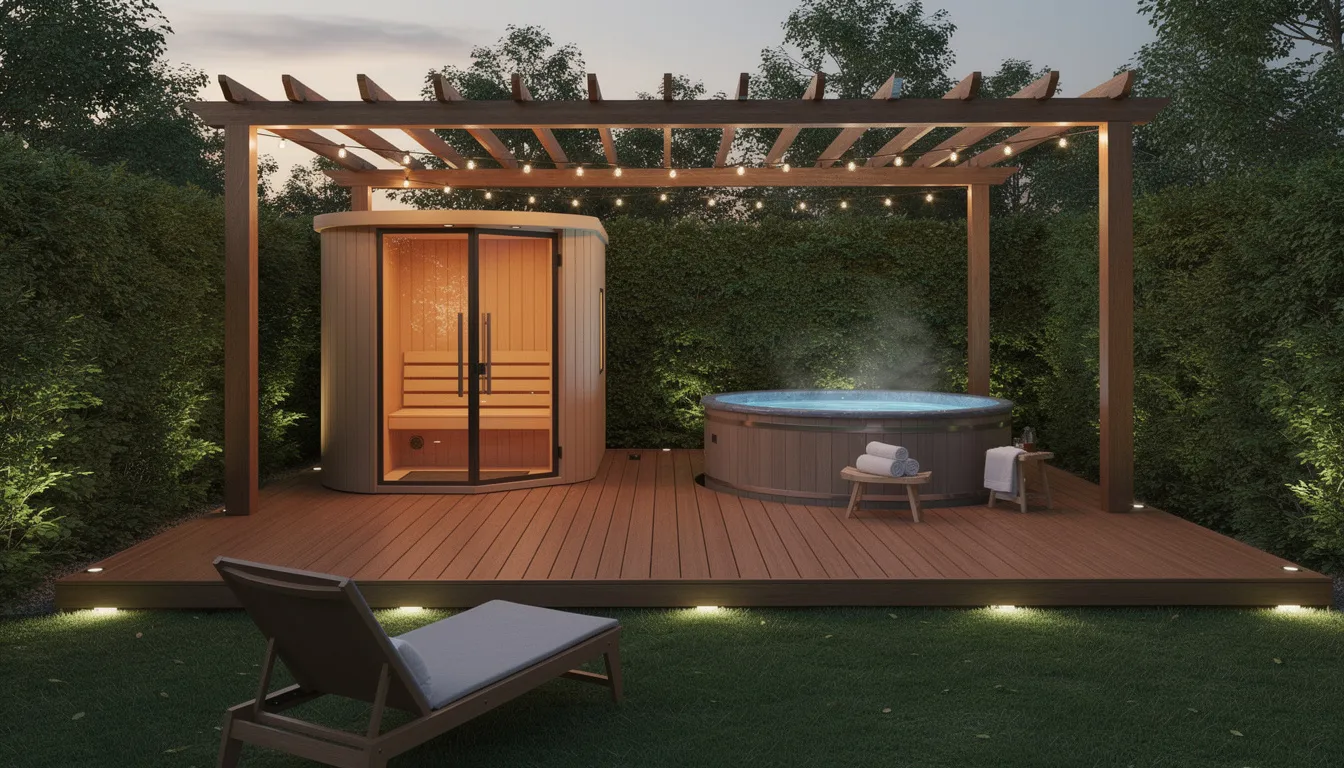
Many SunHomeSaunas clients pair a full-spectrum infrared or traditional outdoor sauna with a compact cold plunge tub on the same deck, wrapping the zone with a mix of evergreen hedging, minimalist fencing, and a connecting pergola.
This layered approach creates resort-level privacy while maintaining the connections to nature that makes outdoor wellness so rewarding.
The key is designing for how you'll actually use the space: stepping out in a robe, transitioning between heat and cold, relaxing on a bench between rounds. When every sightline is considered, and every transition feels private, you can unwind completely in your own backyard.
Ready to create your private wellness sanctuary?
Start by selecting your preferred SunHomeSaunas model, then design your privacy landscaping and window placement around that footprint.
Planning both together ensures the best result—a seamless integration of equipment, structure, and nature that enhances both your wellbeing and your property's elegance.
Contact our team for personalized guidance on outdoor sauna placement and privacy design for your specific property.
Frequently Asked Questions
How close can I plant trees or shrubs to my outdoor sauna and cold plunge?
As a general guideline, maintain at least 3–4 feet between plantings and sauna walls or cold plunge edges. For large trees with more aggressive root systems (oaks, maples, sycamores), increase that distance to 10–15 feet from any concrete pads or buried utilities.
This spacing protects foundations, allows proper ventilation around the sauna structure, and keeps maintenance access paths clear. If you're planting larger species near your wellness zone, consulting a local arborist for exact distances based on specific tree varieties and your soil conditions is worthwhile.
What are the best low-maintenance plants for privacy around a sauna and plunge?
For year-round screening with minimal maintenance, consider Thuja 'Green Giant' (fast-growing and disease-resistant), boxwood (compact and easily shaped), clumping bamboo varieties (non-invasive options like Bambusa), and Karl Foerster feather reed grass (upright form, winter interest).
These choices provide consistent privacy without heavy pruning schedules or significant leaf drop that would require cleaning around your cold plunge. Always match plant choices to your local climate zone and sun exposure rather than following generic recommendations.
Do I need building permits for privacy fences or pergolas around my spa area?
In most U.S. municipalities and European countries, permits or approvals are required for fences above certain heights (often 6 feet) and for structures like pergolas or cabanas—especially if attached to existing buildings or located near property lines.
Before construction, check your city or county building department website and review any HOA covenants that may apply to your property. Permits may also be required for electrical work integrated into privacy structures, including landscape lighting, heater connections, or pump wiring.
How do I keep my outdoor sauna with glass walls private at night?
Nighttime privacy requires a combination of approaches: use dimmable interior lighting directed downward rather than toward windows, install frosted or tinted glass on sides facing neighbors, and position external screens or plantings 3–5 feet from clear glass surfaces.
Avoiding bright backlighting near windows significantly reduces visible silhouettes. For very exposed locations where neighbors are close, consider outdoor-rated roller shades or curtains on tracks that can be closed during evening sessions and opened during daytime for views.
Can I add privacy later if my sauna and cold plunge are already installed?
Absolutely. Privacy can be phased in over time using modular solutions that don't require disturbing existing pads or utilities. Start with the most critical sightline—often a neighbor's upper window or a street view—and address that with a single fence section, freestanding trellis, or hedge planting.
Portable privacy screens, large planter boxes with instant-height bamboo or grasses, and freestanding pergola structures all work well as retrofit solutions. Just ensure any new structures don't block service panels or violate required clearances around your SunHomeSaunas equipment—typically 24–36 inches on service sides.
References
- Finnleo – “Gold Medal Olympian, Gwen Jorgensen, Uses Her Sauna for Health, Workout recovery, and Family.”
- UK Government – “Permitted Development Rights for Householders: Technical Guidance.”
- Service Master Restore – “Ways Tree Roots Can Cause Water Damage in Your Home.”
- Electrical Permits 101: A Guide for Contractors and Electricians.”


