
Cold Plunge Setup Guide
This guide will walk you through how to properly set up your cold plunge system and get it running at peak performance.
Before You Begin
Make sure you have:
- A flat, level surface that can support 1,000–4,000+ lbs when filled
- A dedicated GFCI outlet (120V)
- Access to a hose for filling and draining
- At least 12–36 inches of clearance for airflow
Step 1: Position the Unit
All Models
- Place on a stable, level surface
- Ensure proper airflow around the chiller vents
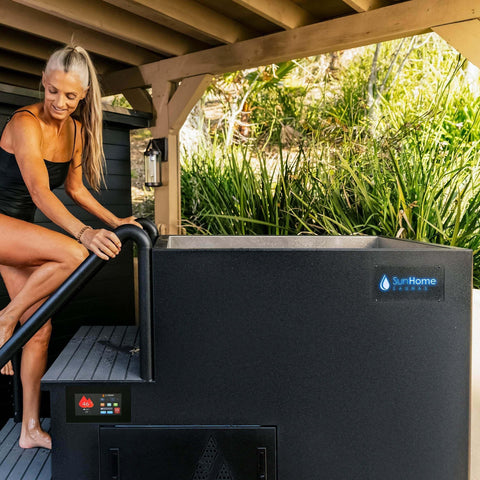
Pro & Apex
- Built-in system: no external chiller placement required
- Maintain clearance for ventilation (front + sides)
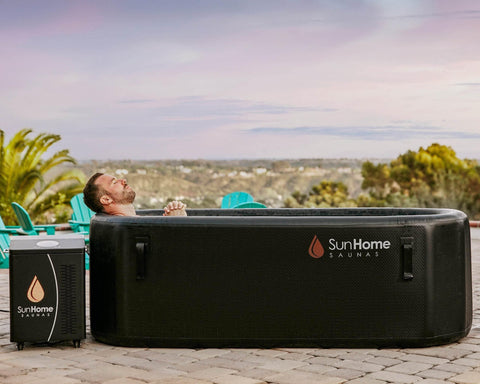
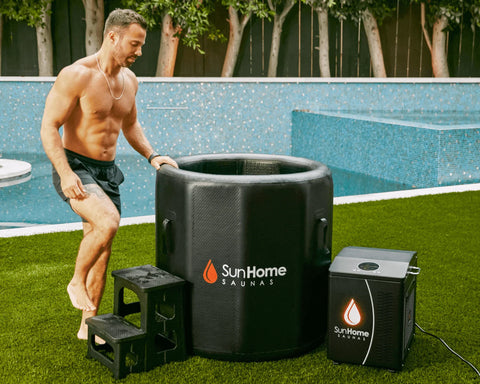
Standard (Inflatable)
- Unfold tub and inflate to proper PSI
- Place chiller beside the tub, not facing it directly
- Let chiller sit upright for ~4 hours before turning on (refrigerant settling)
Step 2: Connect the System
Cold Plunge Standard (Inflatable Only)
- Remove protective caps/plugs from ports
- Attach hoses:
- Tub → Chiller
- Chiller → Tub
- Ensure rubber gaskets are in place
- Attach metal intake filter
Improper connections can cause:
- No water flow
- Chiller damage
Cold Plunge Pro & Pro (Apex)
No external plumbing required.
These models include:
- Built-in chiller system
- Integrated filtration system
- Internal plumbing
Setup is plug-and-play after basic prep — but it must be a dedicated GFCI-protected circuit.
Step 3: Prepare the Filter (CRITICAL)
Cold Plunge Standard
- Remove filter housing
- Remove plastic wrap from filter
- Reinstall before use
Cold Plunge Pro & Apex
Before first use:
- Open the filter housing
- Remove the filter
- Remove all protective plastic wrapping
- Reinstall securely
This is a critical step. Missing it can:
- Block water flow
- Reduce cooling performance
- Trigger system issues
Step 4: Fill the Tub
- Fill with clean water to recommended level
Capacity:
- ~150 gallons (300–450L)
Fill time:
- 10–20 minutes depending on water pressure
- Check all connections for leaks (Standard model)
Step 5: Power On
All Models
- Plug into a dedicated GFCI outlet
- Turn on power at the unit
Pro & Apex
- Turn on via control panel
- System will begin automated cooling
Standard
- Ensure water is flowing before turning on chiller
- Never run the system dry (can damage components)
Step 6: Initial Cooling
- Cooling takes about 8 hours to reach 3–8°C (37–46°F)
Cooling time depends on:
- Ambient temperature
- Starting water temp
- Sun exposure
For best performance:
- Keep the lid on
- Ensure proper airflow
- Keep unit out of direct sun
If cooling takes significantly longer, refer to the troubleshooting articles for next steps
Operation Guidelines
- Maintain consistent water flow before cooling (critical for Standard)
- Do not overload electrical circuits
- Keep system clear of debris and obstructions
- Use cover when not in use
Outdoor & Freezing Conditions
- Outdoor use is supported
- Always use a cover
Freezing Warning
- Do not operate in freezing temperatures
- Freezing can crack plumbing and damage components
If freezing conditions are expected:
- Drain the unit
- Disconnect hoses (Standard)
- Remove filters if needed
Water Maintenance Basics
- Replace filters every 2–4 weeks
- Change water every 2–4 weeks
- Clean screens and filter housing regularly
- Use only approved water treatments
Model Differences (Quick Reference)
| Feature | Standard | Pro | Apex |
|---|---|---|---|
| Setup Type | External chiller + hoses | Built-in | Built-in |
| Filter Prep Required | Yes | Yes | Yes |
| Plumbing Setup | Required | None | None |
| Modes | Basic | Standard | Eco + Ice Mode |
| Portability | Inflatable | Rigid | Rigid |
Frequently Asked Questions
How long does it take to fill the tub?
10–20 minutes for 300–450L, depending on water pressure.
How long does it take to cool down?
About 8 hours to reach 3–8°C (37–46°F).
If it’s taking longer, see the troubleshooting section.
Do I need to remove plastic from the filter?
Yes, on all models.
Failure to remove packaging can:
- Block water flow
- Prevent cooling
- Damage the system
Can I leave the unit running all the time?
- Standard: Yes (with proper water flow)
- Pro/Apex: Not required to run 24/7; can be cycled depending on usage
Can I use it in freezing weather?
No. Drain and store if temperatures approach freezing.
Can I use an extension cord?
No. Always use a dedicated outlet.
Need Help?
If you experience issues:
- Take photos of your setup
- Confirm filter prep and connections
- Refer to the troubleshooting section